ELK使用x-pack插件实现权限控制

ELK使用x-pack插件实现权限控制

介绍

Elsticsearch集群搭建完成,使用Kibana可以直接访问WEB界面,或者使用curl命令行工具也可以直接访问ES的索引,并且可以直接对索引进行增删改查的操作.这在生产中可能就会有严重的安全隐患.

为了防止Kibana的重要管理功能配置,或者ES的重要索引数据被认为的误删,误配置.就有必要对ES和Kibana进行权限管控.

而Xpack插件就非常方便,完美的实现了这个功能


Xpack介绍

Xpack能够对网络流量进行加密、创建和管理用户、定义能够保护索引和集群级别访问权限的角色,并且使用 Spaces 为 Kibana提供全面保护.在Elastic Stack7.x中已经免费开放基础版本功能.但是更高版本的X-PACK仍然需要付费购买.

而且在7.x版本中Xpack默认就已经安装了,无需另行安装插件.

x-pack详细介绍请点击官方文档

x-pack免费版提供一下功能

  • TLS 功能。 可对通信进行加密;
  • 文件和原生 Realm。 可用于创建和管理用户;
  • 基于角色的访问控制。 可用于控制用户对集群 API 和索引的访问权限;
  • 通过针对 Kibana Spaces 的安全功能,还可允许在Kibana 中实现多租户

ELK集群中配置Xpack

主要参考博客:http://www.eryajf.net/3500.html

一.在任意一台ES节点中生成证书

1
2
3
#直接回车生成证书,无需设置密码
[root@idc-function-elk10 bin]# ./elasticsearch-certutil ca
[root@idc-function-elk10 bin]# ./elasticsearch-certutil cert --ca elastic-stack-ca.p12

二.将生成的证书拷贝到/etc/elasticsearch/目录下(我这里是拷贝到Ansible的目录下)

1
2
3
4
5
[root@idc-function-elk10 bin]# cd ..

#拷贝elastic-certificates.p12和elastic-stack-ca.p12证书文件到ES的目录下
[root@idc-function-elk10 elasticsearch]# ls
bin elastic-certificates.p12 elastic-stack-ca.p12 jdk lib LICENSE.txt modules NOTICE.txt plugins README.asciidoc

我这里使用Ansible来发布

1
2
3
4
5
- name: 拷贝x-pack证书文件
copy: src=files/{{ item }} dest=/etc/elasticsearch/{{ item }} owner=elasticsearch group=elasticsearch
with_items:
- elastic-certificates.p12
- elastic-stack-ca.p12

三.修改ES配置文件.在所有节点的ES配置文件中新增下面配置

1
2
3
4
5
6
7
vim /etc/elasticsearch/elasticsearch.yml

xpack.security.enabled: true
xpack.security.transport.ssl.enabled: true
xpack.security.transport.ssl.verification_mode: certificate
xpack.security.transport.ssl.keystore.path: /etc/elasticsearch/elastic-certificates.p12
xpack.security.transport.ssl.truststore.path: /etc/elasticsearch/elastic-certificates.p12

我仍然使用Ansible将配置文件同步到所有ES节点

1
2
- name: 拷贝elasticsearch配置文件
template: src=templates/elasticsearch.yml.j2 dest=/etc/elasticsearch/elasticsearch.yml owner=elasticsearch group=elasticsearch

ES配置文件同步完成后,重启ES服务

四.为内置账号添加密码.

ES中内置了几个管理其他集成组件的账号即:apm_system, beats_system, elastic, kibana, logstash_system, remote_monitoring_user,使用之前,首先需要设置一下密码。

1
/usr/share/elasticsearch/bin/elasticsearch-setup-passwords interactive

为了简便起见,我使用了同一个密码:

1
2
3
4
5
6
7
8
9
10
11
12
13
14
15
16
17
18
19
20
21
22
23
24
Enter password for [elastic]: [root@idc-function-elk10 bin]# ./elasticsearch-setup-passwords interactive
Initiating the setup of passwords for reserved users elastic,apm_system,kibana,logstash_system,beats_system,remote_monitoring_user.
You will be prompted to enter passwords as the process progresses.
Please confirm that you would like to continue [y/N]y


Enter password for [elastic]:
Reenter password for [elastic]:
Enter password for [apm_system]:
Reenter password for [apm_system]:
Enter password for [kibana]:
Reenter password for [kibana]:
Enter password for [logstash_system]:
Reenter password for [logstash_system]:
Enter password for [beats_system]:
Reenter password for [beats_system]:
Enter password for [remote_monitoring_user]:
Reenter password for [remote_monitoring_user]:
Changed password for user [apm_system]
Changed password for user [kibana]
Changed password for user [logstash_system]
Changed password for user [beats_system]
Changed password for user [remote_monitoring_user]
Changed password for user [elastic]

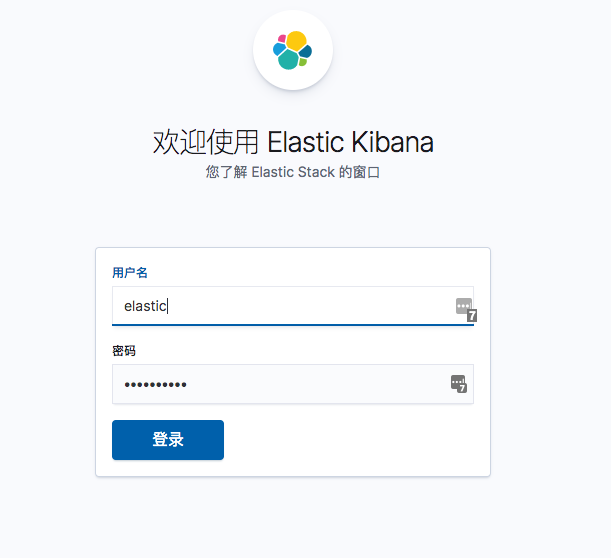
此时,登陆ES的集群管理页面就需要账号密码认证了.需要使用elastic账号和密码进行登录

image-20200812145302139

五.由于ES开启了身份验证,所以此时Kibana和logstash都无法访问ES了.在logstash配置文件的output中添加ES的账号密码:

1
2
3
4
5
6
output {
elasticsearch {
hosts => ["172.16.20.101:9200","172.16.20.110:9200","172.16.20.107:9200","172.16.20.108:9200","172.16.20.102:9200","172.16.20.103:9200","172.16.20.104:9200","172.16.20.105:9200","172.16.20.106:9200","172.16.20.109:9200"]
index => "logstash-%{[fields][project]}-%{[fields][type]}-%{[fields][level]}-%{+YYYY.MM.dd}"
user => "elastic"
password => "上一步设置的密码"

使用Ansible将配置文件同步到所有logstash节点,然后重启logstash

六. 为Kibana添加ES的elastic账号密码

在kibana服务器中配置访问ES集群密文账号.在弹出的用户密码中我写的是elastic的用户密码

1
2
3
4
5
6
7
8
9
10
[root@idc-function-elk05 bin]# ./kibana-keystore create --allow-root
Created Kibana keystore in /var/lib/kibana/kibana.keystore

[root@idc-function-elk05 bin]# ./kibana-keystore add elasticsearch.username --allow-root
Enter value for elasticsearch.username: *******
[root@idc-function-elk05 bin]# ./kibana-keystore add elasticsearch.password --allow-root
Enter value for elasticsearch.password: **********

#重启kibana
[root@idc-function-elk05 bin]# systemctl restart kibana

PS: 有些文档中提到还需要在kibana.yml配置文件中新增以下内容,但是我没有添加也没问题:

1
2
xpack.reporting.encryptionKey: "a_random_string"
xpack.security.encryptionKey: "something_at_least_32_characters"

Kibana角色权限控制

安装配置了x-pack后,如果一切正常.此时登陆Kibana就需要用户密码认证.使用elastic管理员账号登陆,给Kibana配置角色和只读用户

image-20200812150302014

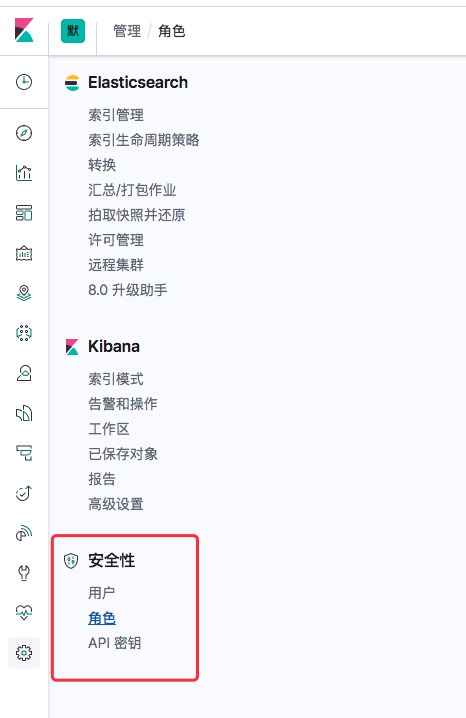
登陆kibana以后,在管理页面中多了个安全性的功能菜单.

image-20200812150507260

这篇博客详细介绍了Kibana的角色介绍:https://www.elastic.co/cn/blog/getting-started-with-elasticsearch-security

一般只需要创建一个只读用户即可,防止用户对Kibana以及ES索引进行一些误操作.

1.创建一个只读的角色.该角色对默认的logstash-*有read权限.(如果有其他索引,可以自行添加).以及对所有工作区有read权限.
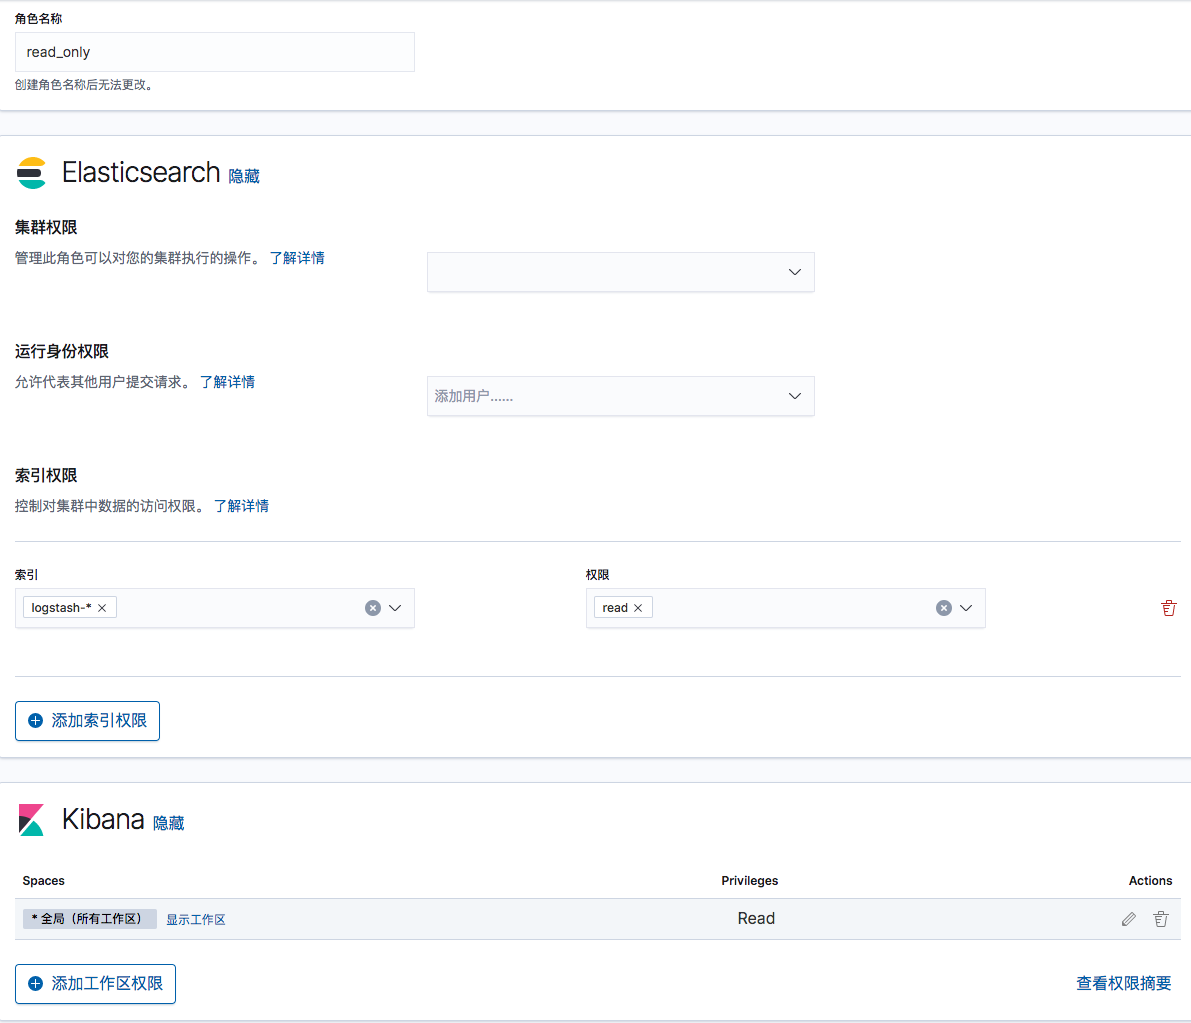
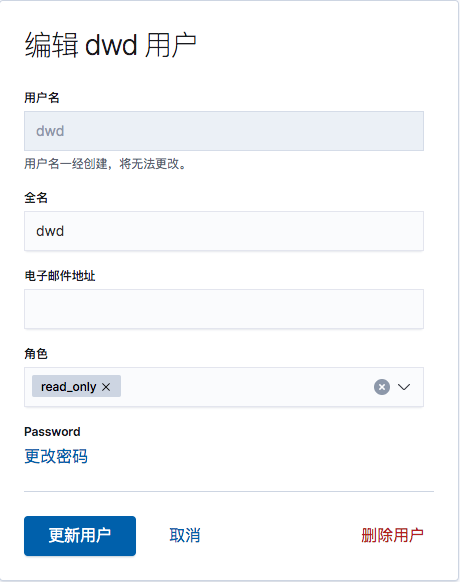
image-20200812150646871

  1. 然后添加一个账户,绑定该只读角色即可

    image-20200812150801194

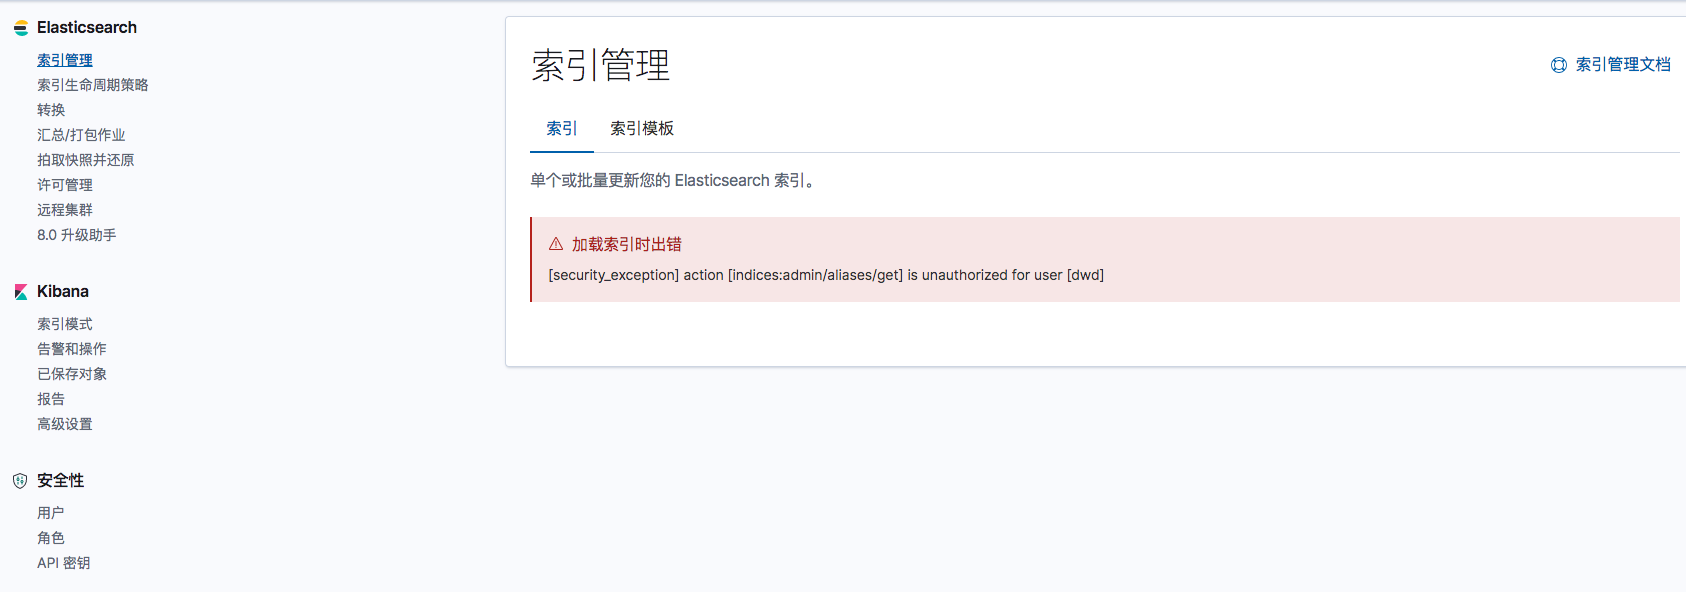
使用只读账号登陆Kibana以后,对Kibana只有只读权限,无法访问或者配置任何菜单功能

image-20200812150939231

本文标题:ELK使用x-pack插件实现权限控制

文章作者:Jesse

发布时间:2020年08月25日 - 22:08

最后更新:2020年08月27日 - 07:08

原始链接:https://jesse.top/2020/08/25/elk/ELK使用x-pack插件实现权限控制/

许可协议: 禁止商业用途 转载请保留原文链接及作者。

坚持原创技术分享,您的支持将鼓励我继续创作!